

Step 1: Log in
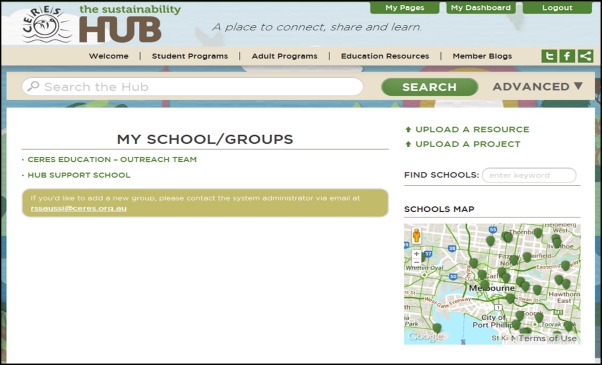
Step 2: Click on the “My Pages” tab along the top

Step 3: Click on any of the blog pages you Administer
Step 4: Once on the blog page, any posts that need to be authorised are listed. Click on the ‘Approve’ or ‘Delete’ button. It’s very subtle, but the text will change to ‘Approved’ or ‘Deleted’, depending on which was clicked. ‘Approved’ posts will appear on the blog post immediately.
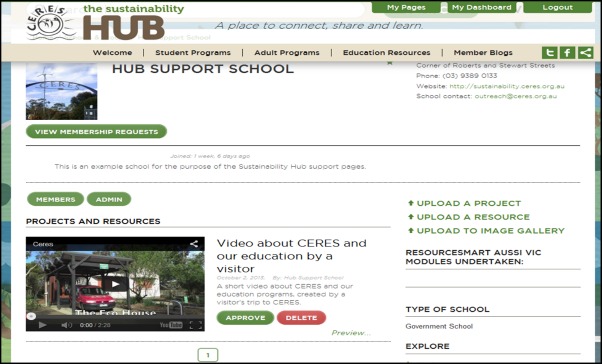
That’s how you authorise project or resource posts!